Download
The template editor application can be downloaded here
https://wbadeptstorage.blob.core.windows.net/downloads/TemplateEditor/V5/template-editor.zip
Extract the zip file and run the Adept.RoutePlanTemplatesUI.exe application
User Interface
Main Menu
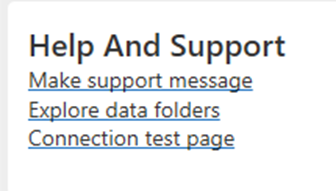
The main menu has the 4 following options

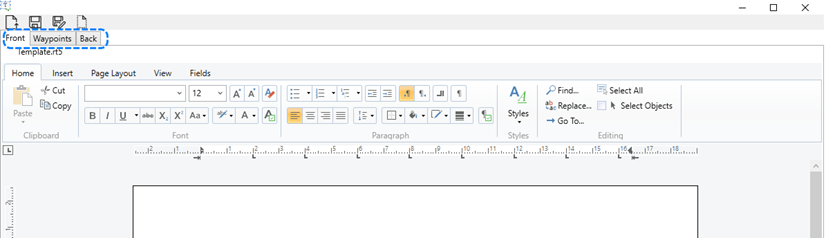
Template tabs
The route plan template is split into 3 sections. Front, waypoints and back. These are represented by separate tabs.
Ribbon
The ribbon UI can be found within the document section of the editor. It has several tabs for editing general settings / changing the layout of the template. These are similar to what would be found in Microsoft Word. The only exception to this is the Fields tab which is covered in a later section of this guide.
Standard template
A standard template has been created to help get started with an initial layout.
This template file is included with the application files and is called Template.rt5.
This template can then be changed and saved as required. Once finalised, place the file in and Program Data folder of the viewer application. This will result in the application using the modified template instead of the default. Please do not rename the file, it needs to be called Template.rt5 for the application to find it in the data folder
The Program Data folder can be found by going to the settings tab in the viewer application, scroll to the bottom and click “Explore data folders”
Fields
The Fields tab offers features to add & edit form fields within the template.
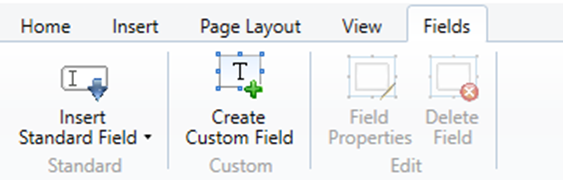
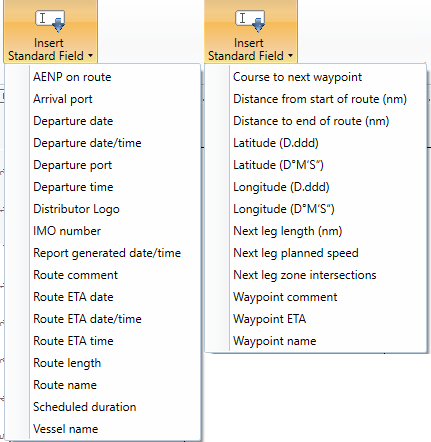
Insert Standard Field
For each template this gives a list of predefined fields that will be populated automatically when the template is used to generate the route plan PDF in Viewer
This predefined list will change depending on which template you are currently editing
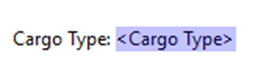
Once a field has been selected it will be added to the template at the current cursor’s location.
If the "Prefix field name when adding field" option is set a label will also be added before the field.
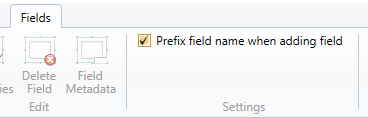
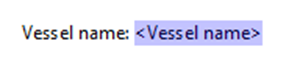
This text can be changed to suite requirements. Please do not edit the text surround by < >, in the highlighted box
Create Custom Field
If there is a filed that is not included in the standard list then a custom one can be created for it
Clicking create custom field will display the custom field dialog
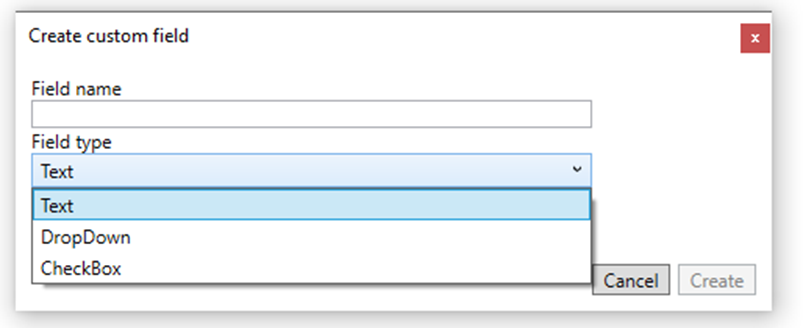
Here you can enter the field name and select what kind of field you require.
Text – Free text entry
DropDown – A selection can be made from a number of pre-defined options
CheckBox – True/False, Yes/No selection
Upon clicking create, the custom field will be added to the template at the current cursor’s location.
Edit Custom Field
Once the drop down custom field has been created it needs to have its options defined
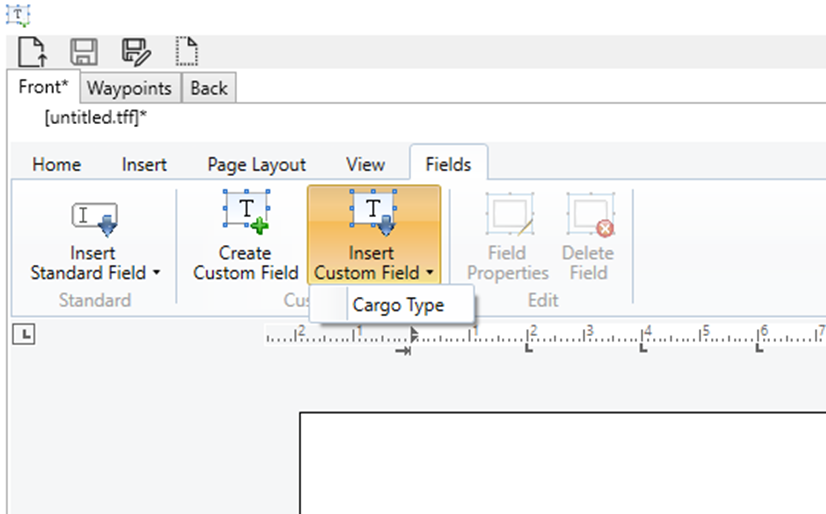
In this example a custom field called Cargo Type has been created
To edit the drop down options, click the highlighted
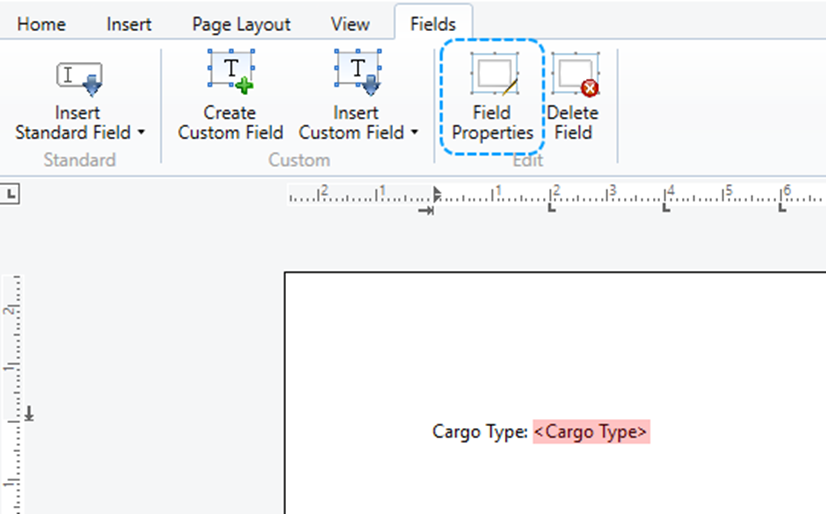
This will open the properties dialog
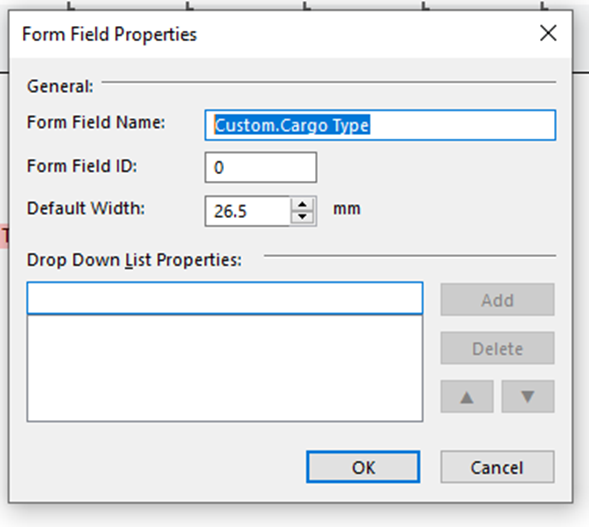
Please do not edit the Field Name as this has been pre-set to work with logic in Viewer
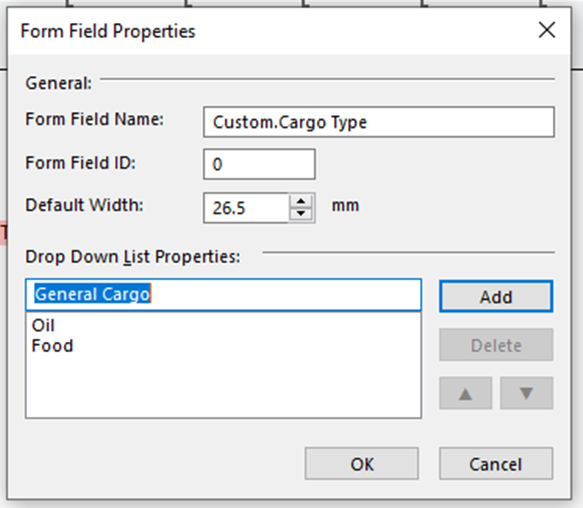
To add options, type the text in the box under Drop Down List Properties and click Add. These will then be added to the bottom box where the sort order can be changed and any entries be deleted as needed
Insert Custom Field
Once a custom field has been created, or a template is loaded that contains custom fields then these can be re-added into the template if needed using the Insert Custom Field menu
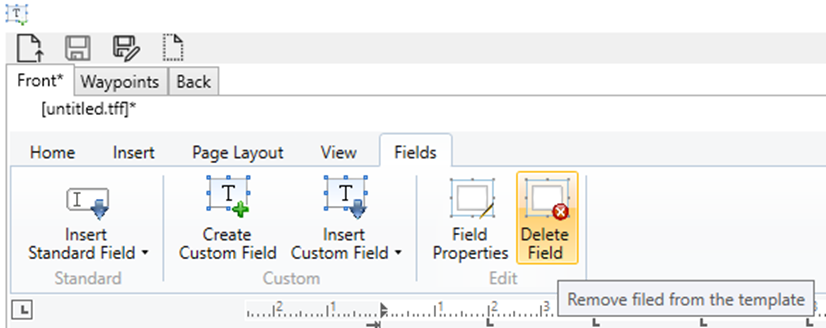
Delete Custom Field
To remove a custom field that has been added to the template you can highlight it and press delete, but this will only work if there is text before the field. Alternately, you can click on the field and select Delete Field from the ribbon menu
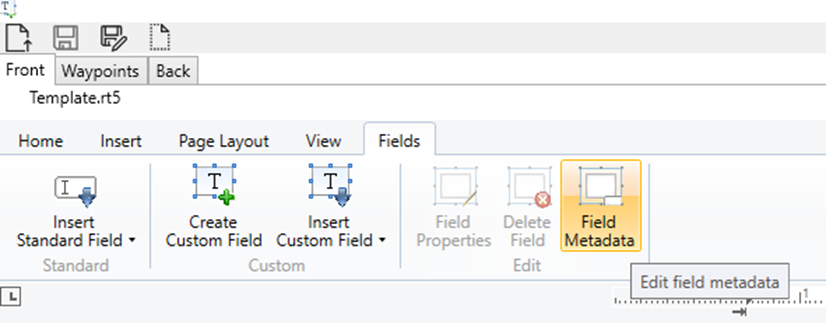
Edit field labels & header
To change what labels or headers are shown for the fields in the main application use the Field Metadata dialog
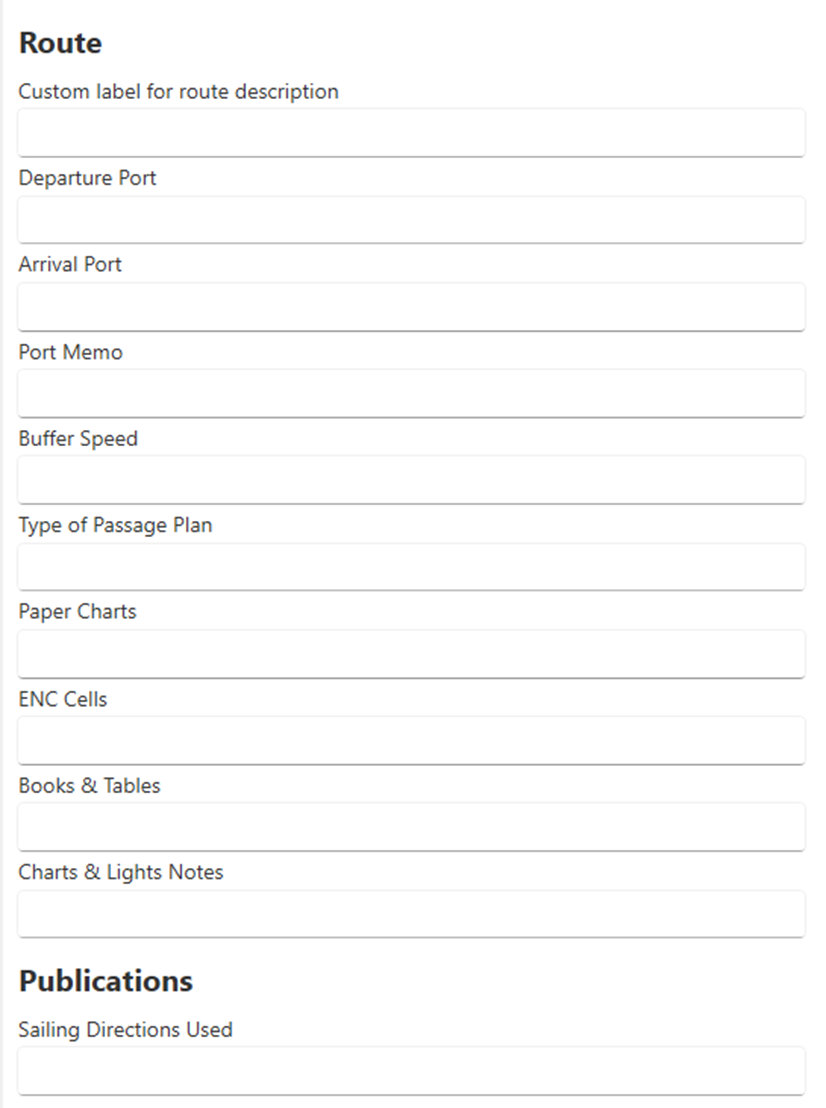
This will list out all of the custom fields in the template section and allow for the label to be changed and a header to be set

In the above example the label for the Route Description field has been changed and a heading of “Route” has been set. This is then how this would look in the application
Waypoints template
The waypoint template will repeat for each waypoint in a given route.
Repeating Header
In order to repeat a table header at the start of each page follow these steps
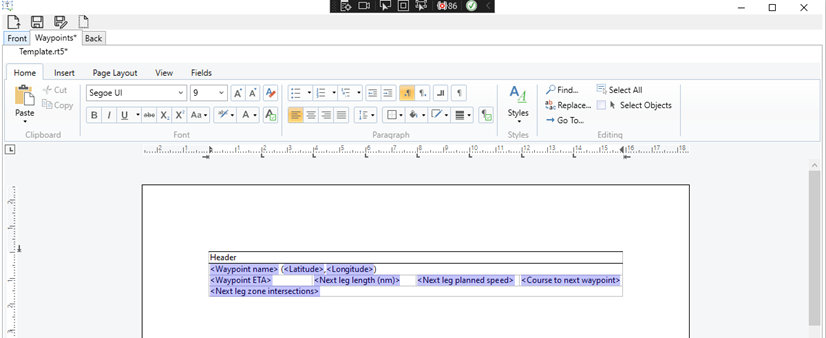
In the waypoints template define your layout in a grid, leaving the top row for the header you would like to have repeated
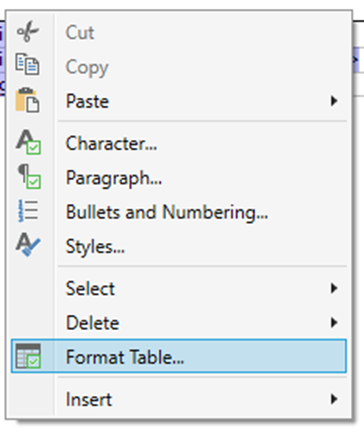
Then select the header row, right click and select Format table
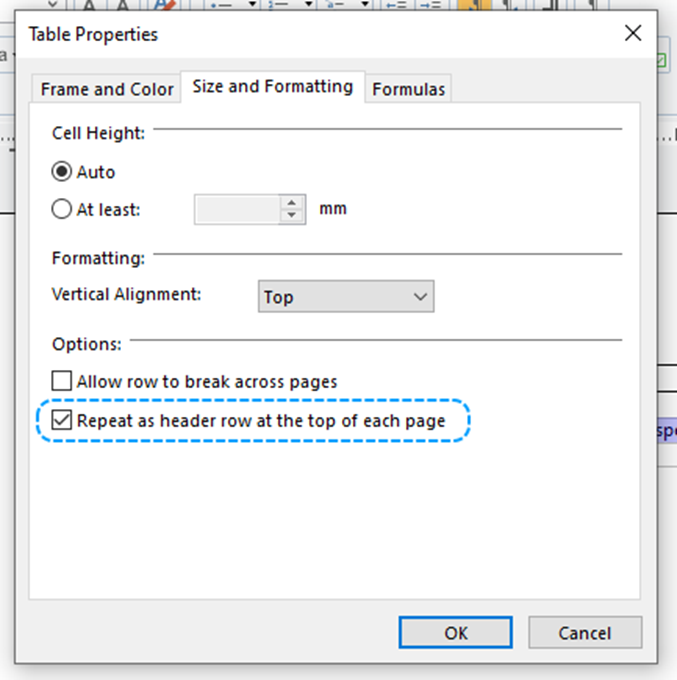
Select the Size and Formatting tab and check the option Repeat as header row at the top of each page
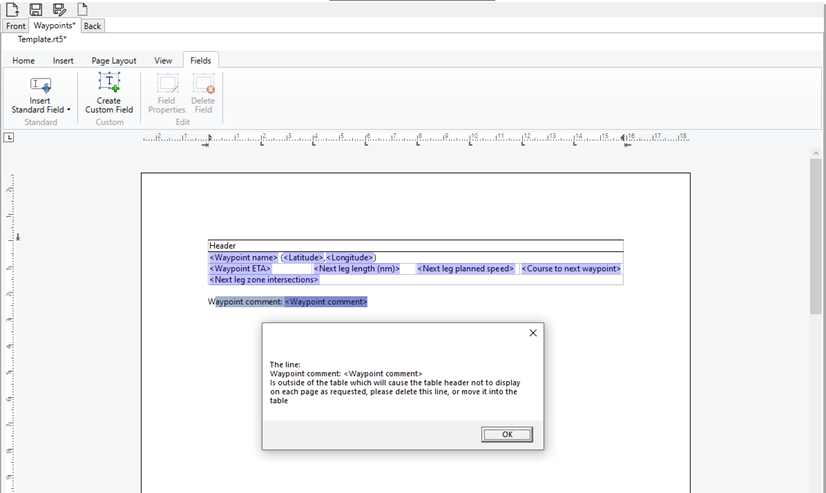
If this setting is enabled please ensure that there is not any text or blank paces outside of the table, as this will prevent the header from repeating.
If this occurs the application will warn of any offending lines